
From point cloud to BIM model: how Scan-to-BIM works in renovation projects
You are about to renovate, but up-to-date drawings are missing or no longer accurate. Measuring by hand takes time, introduces inaccuracies and never gives a complete picture. Scan-to-BIM solves that: a 3D laser scan records the existing situation and is then translated into a complete BIM model in Revit. This article explains step by step how that works.

What is Scan-to-BIM?
Scan-to-BIM is the process in which a point cloud, the result of a 3D laser scan, is converted into a structured BIM model. Where the pointcloud is raw measurement data (millions of points without interpretation), the BIM model is an editable working document with identifiable objects: walls, floors, doors, windows, pipes and building services.
Scan-to-BIM is aimed specifically at existing buildings and renovation projects. In new construction the BIM model is built from scratch during the design process. For existing buildings those design files are often missing, outdated, or do not match the actual situation. The scan delivers the current state; the BIM model makes it usable.
The process step by step
1. Scanning
The first step is to record the existing situation with a 3D laser scan. The scanner emits around 600,000 laser pulses per second and builds up a three-dimensional image of the entire environment point by point. At the same time, 360-degree photographs are taken automatically.
The scanning work does not disrupt the use of the building. Staff and residents can simply carry on. Anyone who appears in shot during the scan is automatically removed from the data.
2. Registration and clean-up
After scanning, the individual scans are merged, aligned and cleaned up. The result is a clean point cloud, usually available within 24 hours.
3. Modelling in Revit
This is the heart of Scan-to-BIM. A BIM modeller loads the point cloud into Revit and builds the model. The point cloud acts as a measurable underlay: every object (wall, floor, door, pipe) is traced from the scan data and given the correct dimensions.
You can then add properties to each object: material type, classification, maintenance information. What you record depends on the agreed level of detail (LOD). LOD 200 is a basic model with overall shapes and dimensions. LOD 300 contains accurate geometry suitable for design and engineering. LOD 400 adds fabrication information.
4. Quality control
After modelling, the BIM model is laid back over the point cloud. This is the model check: deviations between model and reality are made visible and corrected. That way you know the model matches what is actually there.
5. Delivery
The BIM model is delivered in Revit (RVT) and/or as an IFC file, depending on what has been agreed. IFC is an open standard that opens in virtually any BIM software, regardless of which package the other parties on the project use.
Why Scan-to-BIM for renovation?
In renovation the existing situation is the starting point. Without reliable data on what is there, you work on assumptions. In practice that leads to familiar problems:
•A design that does not fit because the actual dimensions differ from the drawing
•Pipes or structural elements that turn out to be somewhere other than expected
•Additional work and delays on site due to unforeseen situations
•Disputes over responsibility when the basis is wrong
Scan-to-BIM removes that uncertainty. You work on a model based on the actual, measured situation, not on a drawing from twenty years ago.
What determines the lead time?
The lead time of a Scan-to-BIM project depends on several factors:
•Size: an office floor is modelled faster than an entire factory with building services
•Complexity: a lot of pipework, irregular geometry or multiple storeys take more time
•Level of detail (LOD): the more information you want in the model, the longer the modelling takes
•Available documentation: if partially usable drawings or other archive material still exist, that can improve the quality of the model. Information about foundations, wall build-up and concealed structures comes from existing documentation.
The scanning phase itself is fast: 1,500 m² in an hour with the NavVis VLX, cleaned-up data within 24 hours. Modelling can often start immediately after the scan. The total lead time is agreed in advance, so you know what to expect.

In summary
Scan-to-BIM translates reality into a workable model. It starts with a scan, moves through registration and modelling in Revit, and ends with a verified BIM model ready for design, coordination or management. For renovation projects where up-to-date drawings are missing or unreliable, it is the fastest route to a reliable basis.
Projects we have delivered
56+ clients in 7 countries. Over 2,000 scans completed in 5 years.
-
 Read more
Boerenbond Petsplace or Odido
Boerenbond Petsplace or Odido When a retailer switches to a new store concept or interior, it often isn’t about one location, but about dozens of stores that need to be renewed in a short time. We’ve been involved in the renewal of Boerenbond/Pets Place stores and the transition from T-Mobile to Odido, among others. For…

-
 Read more
Basic-Fit
BASIC FIT For Basic-Fit we’ve scanned more than 1,300 existing and newly built locations over the past 5 years. The Digital Twin was set up on the basis of the scan. Basic-Fit uses this data for the delivery of the locations, facility management, all smart systems in the club and much more. Ask about the…
-
 Read more
CS Arnhem
CS ARNHEM Bartiméus is an organisation for the care of people with a visual impairment or blindness, and Atsence offers a solution for indoor navigation, so visually impaired and blind people can orient themselves in public spaces. A wonderful solution! Atsence uses our scan data for their software and asked us to scan Arnhem Station.…
-
 Read more
Elysee Pavilion Paris
THE ELYSEE PAVILION In collaboration with Hypsos, we scanned and modelled this beautiful pavilion on the Champs-Élysées. To temporarily change the layout of this pavilion in preparation for the Olympic Games in Paris, we had to model all elements such as ornaments and ceiling mouldings accurately.
-
 Read more
Kenaupark Haarlem
KENAUPARK HAARLEM We fully 3D scanned this beautiful monumental building in Haarlem for a local architect and worked it up accurately in Revit. With monumental buildings, no situation is the same and existing drawings are far from always complete or current. An accurate record of the existing situation therefore forms a valuable basis for further…
-
 Read more
Monkey Town
MONKEY TOWN Monkey Town is expanding into Germany, and we give every project a great start! Mülheim is the first location we scanned for Monkey Town with our mobile scanner. We used the point cloud to develop the existing situation accurately into a BIM. The BIM, exported DWG and PDF are delivered to the German…
-
 Read more
Museumplein 1 Amsterdam
Museumplein 1 We scanned this beautiful building with our mobile scanner and also carried out an archive study. On the basis of the scan combined with the archive documents, the architectural and structural model was set up to BIM basis ILS. With the scan as the starting point, of course, so it’s an accurate copy…
-
 Read more
NEMO
NEMO A special application of our 3D scans! For a client that specialises in indoor navigation, we deliver point clouds and 360° images that are used as the basis for navigation in buildings. Via an app on the phone, a user can be navigated through the building with the help of the camera and augmented…
-
 Read more
PICNIC
PICNIC Commissioned by Picnic, we scanned a hub in Amsterdam with the VLX and set up a Digital Twin on the basis of the point cloud. Hubs are the smaller distribution centres your groceries come from. Prior to this process, we had to set up a template with elements that recur in a Picnic hub.…
-
 Read more
Stadion Galgenwaard
Stadion Galgenwaard In collaboration with MVSA, we scanned FC Utrecht’s stadium so they can make a flying start on their project.Using GPS systems in combination with the VLX, we were able to model the stadium accurately in Revit on the exact coordinates.With the help of two scanners, we scanned the stadium as efficiently as possible…
-
 Read more
Zandvoort Rotondeflat
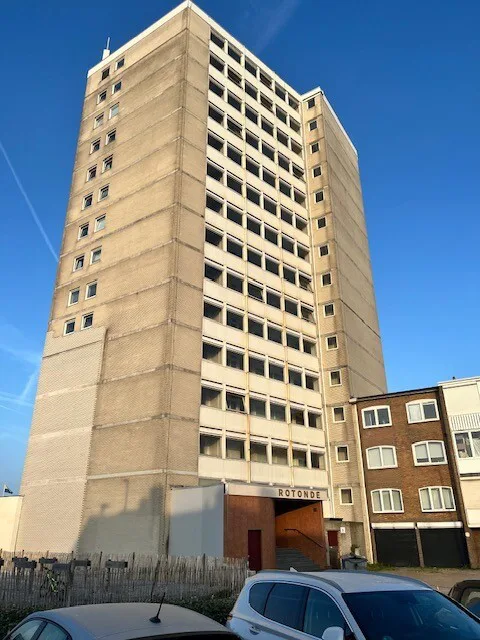
De Rotonde Flat in Zandvoort: a complete building mapped from a representative sample Anyone who has crossed the central square by Holland Casino in Zandvoort knows De Rotonde Flat. The building is a local landmark, an old and distinctive block that divides opinion: some find it ugly, some find it beautiful, everyone knows it. Buildings…
-
 Read more
Halls
Reuse of halls This client specialises in building halls, but also in dismantling and reusing existing halls. An existing hall is carefully taken apart, sold and then rebuilt at another location. An important challenge here is that original drawings are often missing, outdated or no longer match the actual situation. That’s why we fully scan…
-
 Read more
Fort Benoorden Beemster
Fort Benoorden Beemster In the middle of UNESCO World Heritage Site the Beemster lies Fort Benoorden Purmerend, part of the historical Defence Line of Amsterdam. Several forts of this former defensive line have since been given a new purpose. In this case, the fort is in use by a wine wholesaler. Commissioned by a local…
-
 Read more
Municipality of Haarlem
Municipality of Haarlem Everyone from the Haarlem area knows this beautiful, stately building. Commissioned by the municipality, we 3D scanned the entire building inside and out and captured the existing situation accurately in digital form. We delivered the resulting point cloud in both E57 and RCS format, so the scan data is broadly usable for…
-
Read more
Hoge Duin en Daalseweg
Hoge Duin en Daalseweg We fully 3D scanned this beautiful villa on behalf of an architect. On the basis of the point cloud, we then worked the existing situation up accurately into a Revit model. Because a 3D scan only captures what is actually visible and measurable, we supplemented the model with information from available…
-
 Read more
Johma
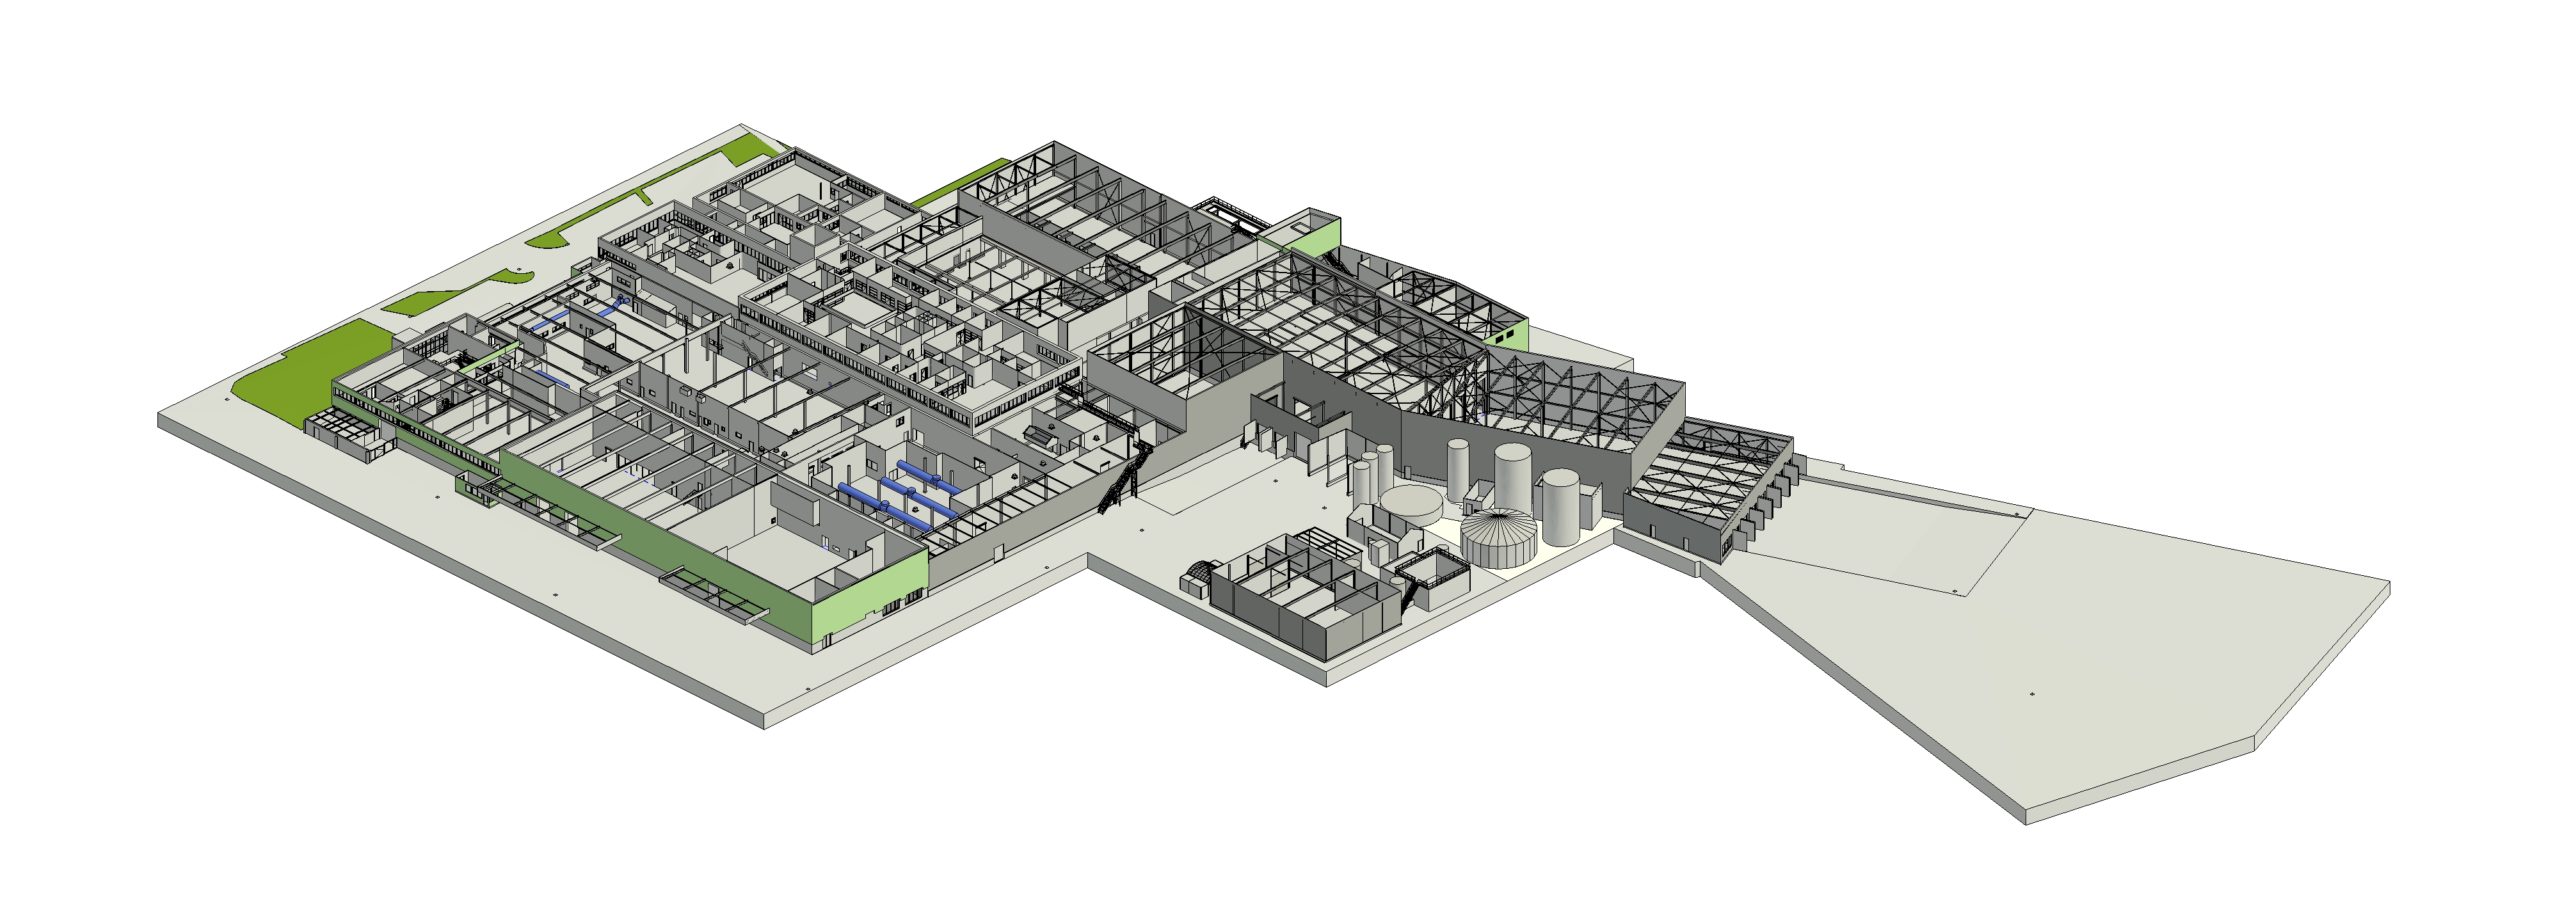
Johma: unifying a 30,000 m² factory complex in a single digital model Anyone who has walked the Johma site sees not one factory, but a chain of building sections that have grown together over the years. Every extension brought its own column structure and its own dimensions, and for many sections no accurate drawings existed…
-
 Read more
Church Hoogwoud
Church Hoogwoud No current drawings of this church, part of the municipal property, were available. To properly prepare future maintenance, management and renovation works, we were asked to map the complete existing situation accurately. With our mobile 3D scanners, we captured the church both inside and out. The resulting point cloud forms an accurate digital…
-
 Read more
Rijksmuseum
Rijksmuseum Every so often our work takes us to a very special place. This time: the Rijksmuseum in Amsterdam, after closing time! Commissioned by our client, we got to fully 3D scan all publicly accessible parts of the museum. An impressive environment where historical architecture, art and technology come together. With our mobile 3D scanners,…


